Ceramics blog
Sculpting Clay Animals
Aug
A few years ago I began sculpting clay animals. I had just moved to Montréal and I took on a pottery class for several reasons. One was that I wanted to experiment a new medium, and it swiftly lead me to opening my own online shop and selling ceramic figurines and porcelain jewelry. Thanks to my customers support and my hard work, 3 years later sculpting clay animals is actually my full time job. I did not expect that when I began sculpting clay figurines. Let’s go back to the sculpting experience and how my own work evolved over the last 3 years.
First, I took a class and that’s what you should do !
I happened to sculpt clay animals by chance, my pottery class wasn’t about figurines, nor was it about animals. It was about making dinner ware by hand modeling clay (no throwing wheel). So while I made half straight mugs and seriously skewed plates, I began to roll a ball of clay in one hand and ended up with a porcelain otter. I was just finishing the big otter illustration at that time so they were on my mind that day. This is how it all began.
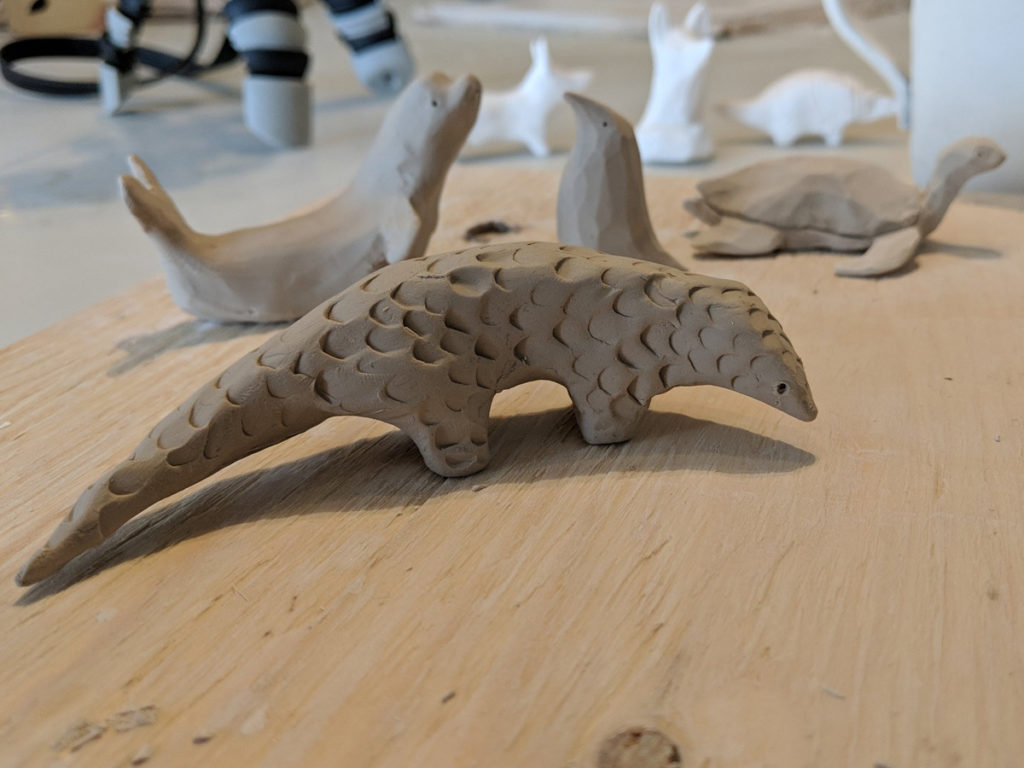
Sculpting clay animals
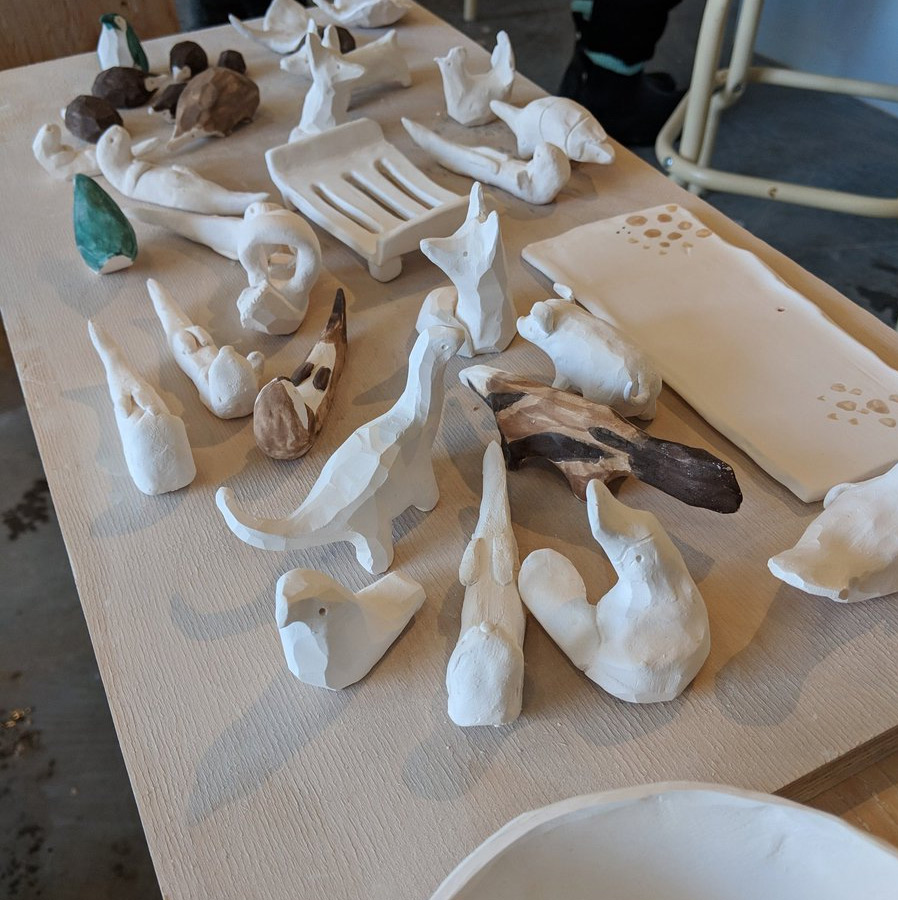
I hand sculpt each and every one of my clay animals, there are no mold involved here, for several reasons. I want each figurine to be unique, and I don’t want to deal with plaster molds messes and clay slip everywhere. So for now and until I get my own dream studio, that’s that.
I use a variety of tools, I detailed all of them into a piece about Pottery Tools. But as a beginner, you should totally not buy anything and put that money into a pottery class instead. You will save so much time and energy and possibly frustration by joining a class. I think that without a good teacher, I would not have pursued this medium at all.
Sculpting clay is both really relaxing and satisfying, and at times it will be the most frustrating technical thing ever. So better go with someone who knows what they’re doing.
General process of clay sculpting
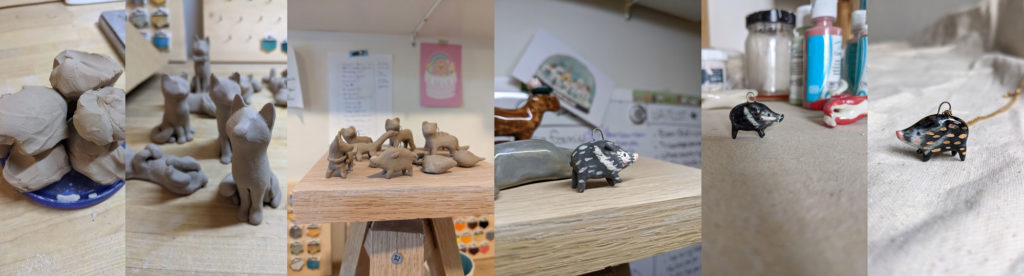
At first there is a ball of clay. I use a local white clay resulting in a good white porcelain (PSH Clay). It’s very plastic and easy to work with, it’s widely used. Which you’ll want because you will have to combine it with other products and you want them to work well together.
The whole modeling clay process can be done at home or at a studio but the firing of your pieces implies using a professional kiln. There is no firing porcelain in a kitchen oven. In fact, kilns temperatures go as high as 2000 degrees and even hotter. Porcelain fires at 2000 degrees at least twice, this means special equipment : gloves, ventilation, respirators, safe non flammable surroundings etc. That’s another good reason to take a class and learn to operate a kiln, eventually.
So my number one advice for taking on sculpting clay is : take a class. It will save time, energy, frustration, money and lead you on a good path, whether you’d like to pursue this professionally or keep it a fell good hobby.
Sculpting Clay tools
When it comes to the tools, you won’t need a ton of them, your hands should be enough for the first tests. You will use a variety of tools at your studio and in class, you’ll soon notice some suit you better than others. This will change over time too. At first I loved carving leather hard clay with a knife and now I’m more into smooth finishes with a soft sponge. It all depends on what you’ll like to achieve. I published a list of my pottery tools if you’re interested.
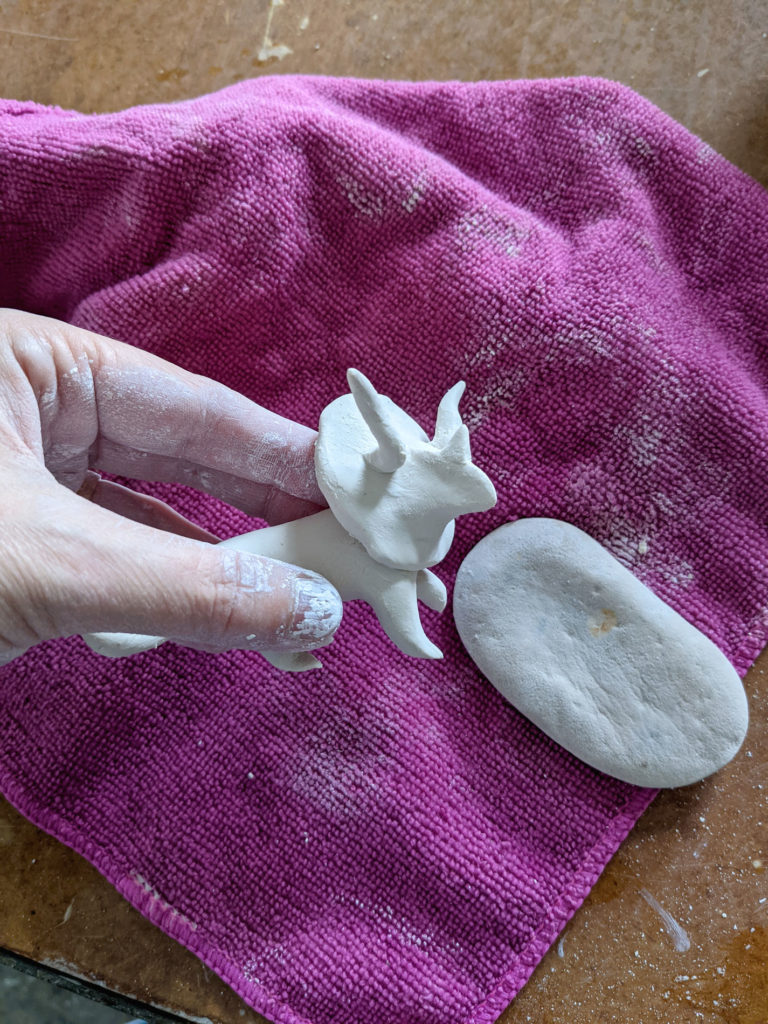
Sculpting animals in clay
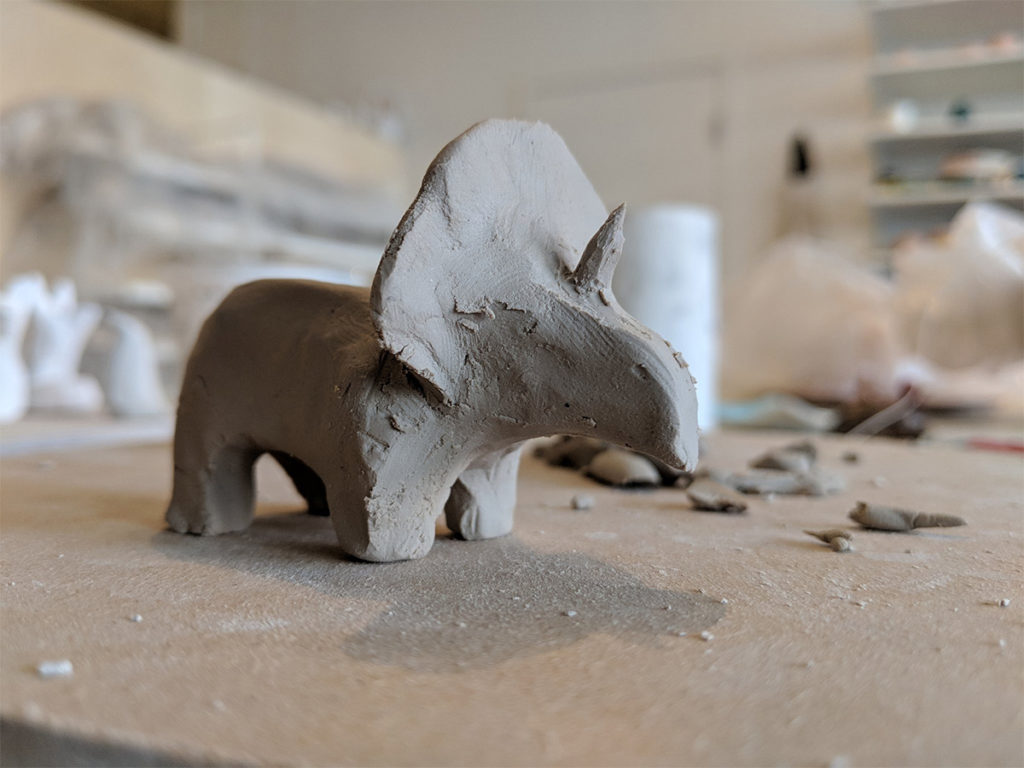
Now you just have to sculpt your first figurine. At first clay will be soft and it will be difficult or nearly impossible to make an animal stand on its legs with fresh clay. You’ll notice that when it dries, it gets firmer so you’ll be able to create legs. If it dries too much, it becomes less and less plastic so then it breaks instead of changing shape. You’ll find your way between all of the clay stages in time. You will also find tricks like using a sponge to keep parts of your work standing or letting the legs dry and attaching them later. There are a lot of techniques, some of them I covered in various tutorials on the ceramics blog.
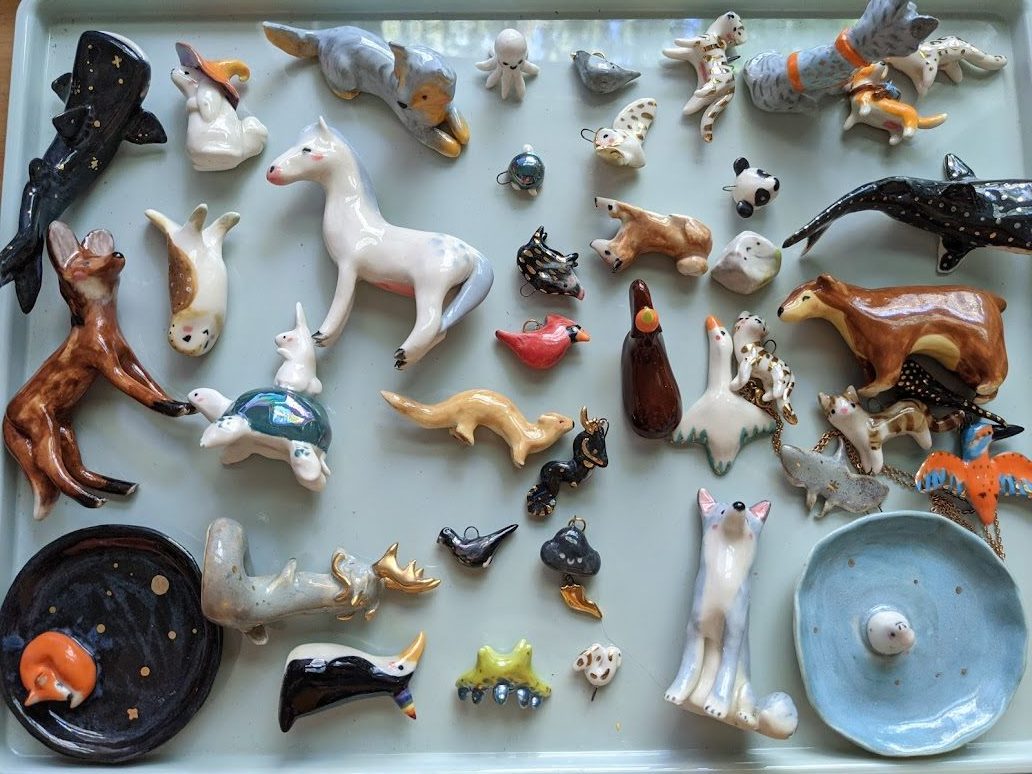
Once you’ve got your shapes and basic sculptures, you’ll want to dive into decorating and painting them. I like to paint on bone dry clay, which is the most fragile state so maybe you will want to try and paint on fired clay at first. I use underglazes of various brands like Duncan, Amaco and Speedball. All of which are nice, the end results depends on the clear glaze you’ll use.
Once painted, my ceramic animals go through their first firing and then they’re glazed in clear glaze most of the times. That will give them their shiny finish. Then they go through their second and usually last firing.
For my golden pieces I use a gold luster – it’s real gold – and a third firing.
Cold porcelain and air dry clays
There are other types of materials that you can use to sculpt clay figurines. Air dry clay and cold porcelain or polymer clay are often used. I am not experienced with these, so I can’t recommend any process or brands. There are a lot of other artists who can though ^^
More Sculpting tutorials
If you’d like to see more steps and read about how I work with clay, I wrote a few pieces about it :
- Handmade porcelain jewelry
- Wedding porcelain pendants step by step
- Sculpting a custom tiger figurine
- Full process video