Ceramics blog
How to (I) make ceramics
Jul
I’ve always been curious about arts and ceramics in particular. And judging by the amount of courses, workshops and shared studios in town, I am not alone.
I recently opened a small online shop for my ceramic figurines, so I thought I would show you how i make ceramics figurines.
I first took a few wheelthrowing lessons (like in the movie Ghost, with an electric wheel, without Patrick Swayze). I thought i’d learn how to make super nice jars. I started with Nadine from Pigment It, she’s an awesome craftswoman, artist and ceramist. She taught me the basics and I’m still super grateful. At that time, during the summer of 2018, I wanted to make pots like these.
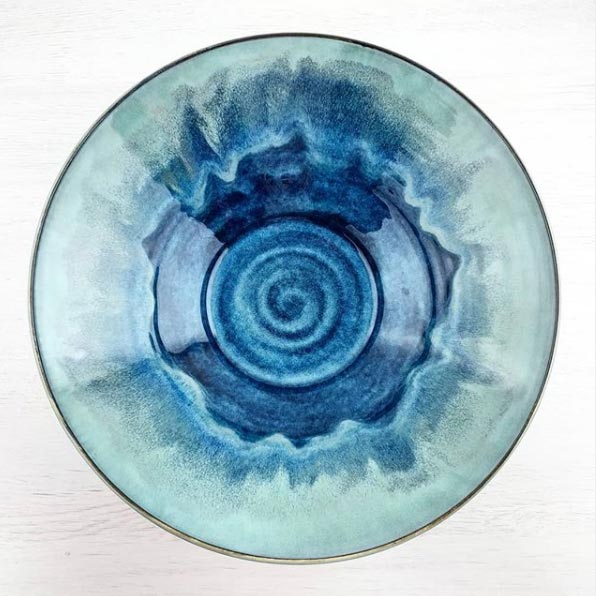
Old Forge Creation – England
Suffice to say that one does not realize the amount of craftsmanship needed for such a piece. I worked on this for 8 weeks, 4 hours each week, without getting anything proper. Everything was too big, irregular, ugly. And it’s perfectly ok, nobody can learn such a complex art in less than 40 hours.
Nevertheless, I’m stubborn, and I went on with another course at Les Faiseurs – a workshop café, still in Montreal.
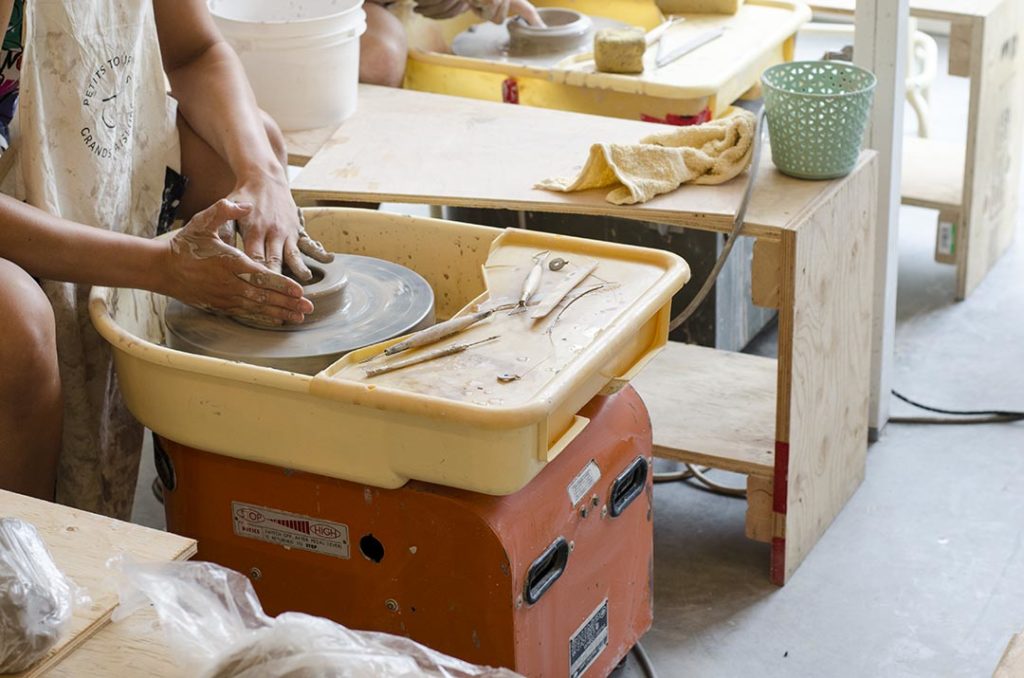
Electric Wheel, photo Les Faiseurs
Throwing or sculpting
Then i subscribed to a modeling course out of curiosity. Modeling is like something between playdough and sewing. We work with big chunks of clay, rolled flat and assembled.
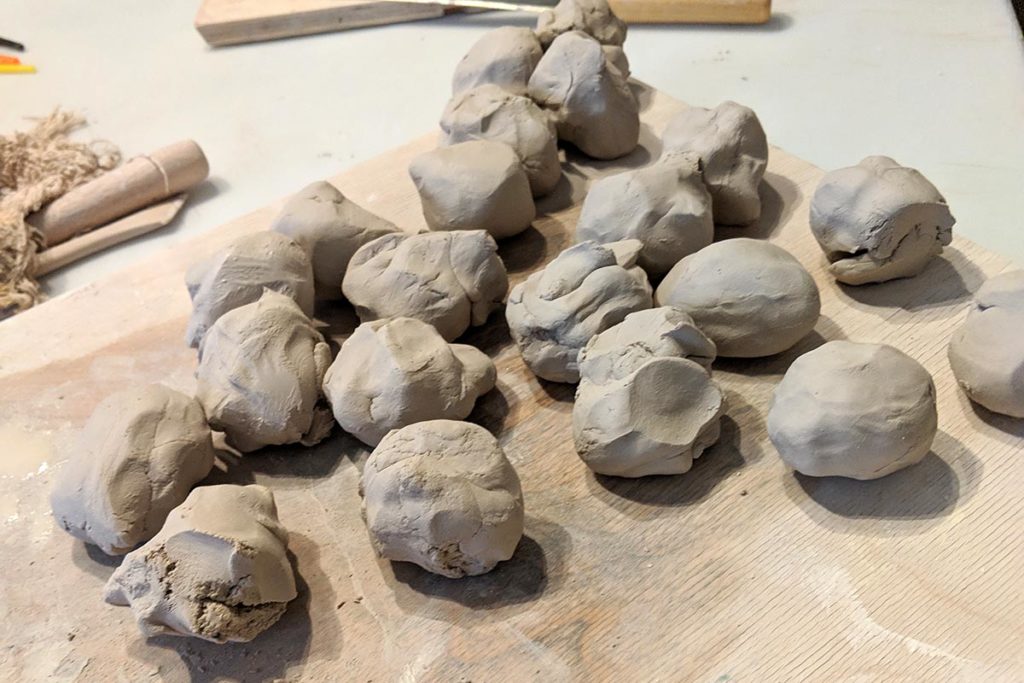
White Clay for modeling
And as I crafted my crooked plates and my off mugs, I thought about what I really wanted out of this course. I began sculpting this little otter – as I had just finished with the 101 otters illustrations. Here I was, getting myself out of the course and while the others were getting better mugs and plates, I was making a few little clay animals.
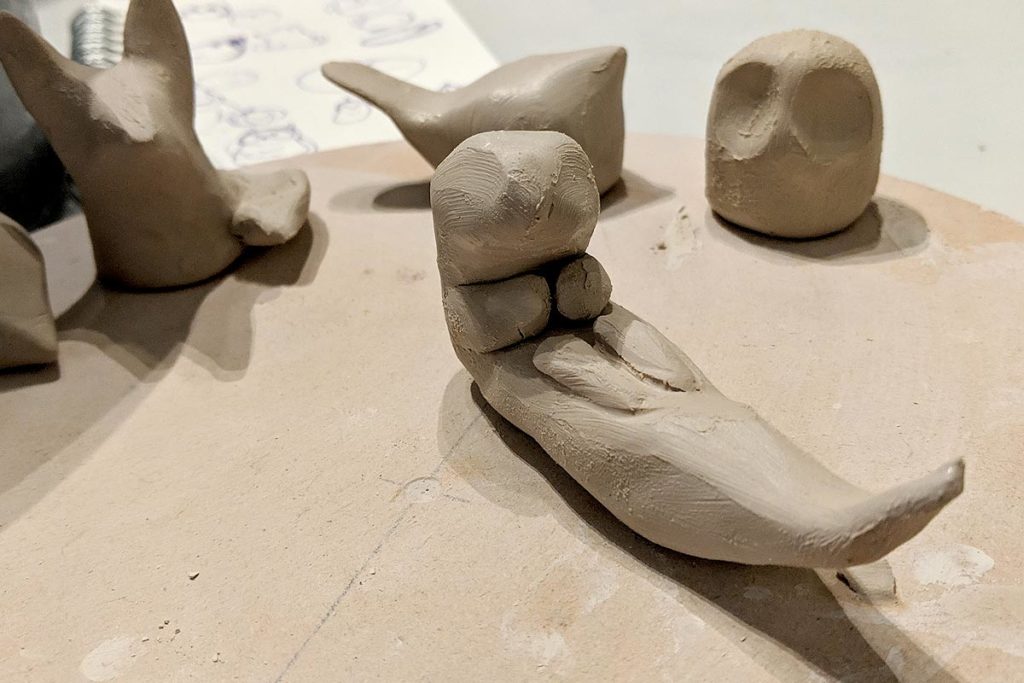
First Clay Otter – Modeling phase
Making Ceramics in 5 steps
1 – Modeling the figures
First of all, you have to know exactly what you want to do and plan it. You will have to get a basic knowledge of how all this works, I’ll cover some of this. Better attend some basic courses though 🙂
The clay gets through different stages, at first it’s wet and it can be modeled very easily. Then it dries, and then it’s fired two or three times. Along all these steps, the clay will shrink and lose about 15% of it’s sculpting size. It’s really important to keep this in mind.
The modeling step allows us to sculpt and glue all the clay parts. While the clay is still wet, it’s easy to assemble but it’s too soft to stand or stay in certain shapes. When it dries, it’s impossible to glue but it stays in shape. The drier the clay gets, the more fragile it becomes. So here are your main parameters :
- Wet and easy to manipulate but will not stand or support weight
- Drier and retaining shapes but unable to assemble
- Dry and super sensitive to breaks
All the modeling works is about resolving the issues of each stage.
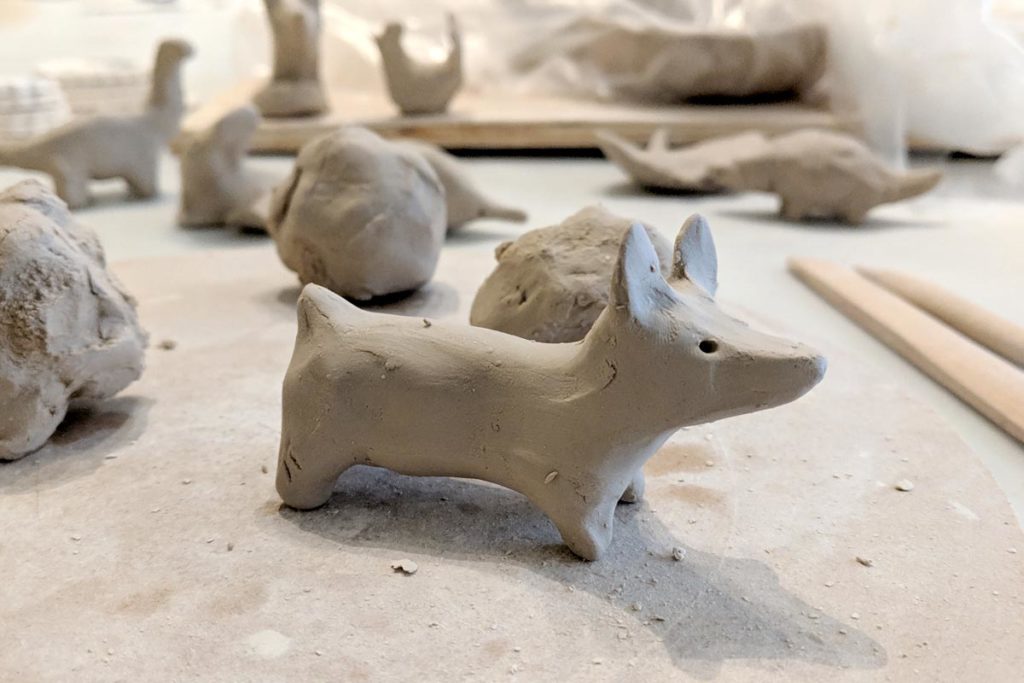
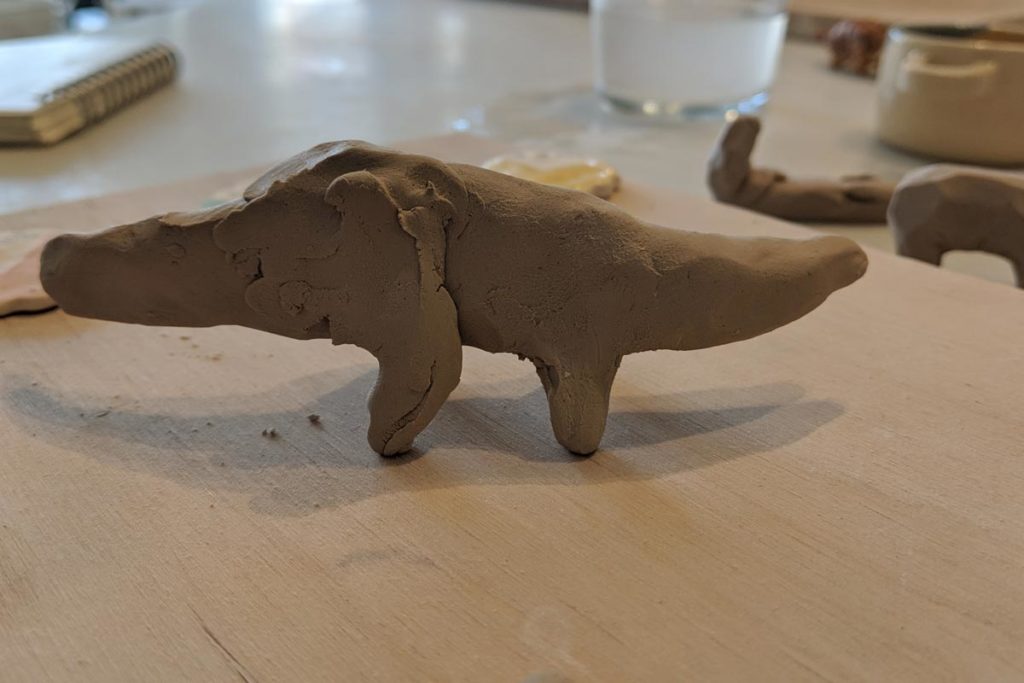
Ceramic corgi – modeling stage
It’s quite a delicate work and I am super clumsy ^^
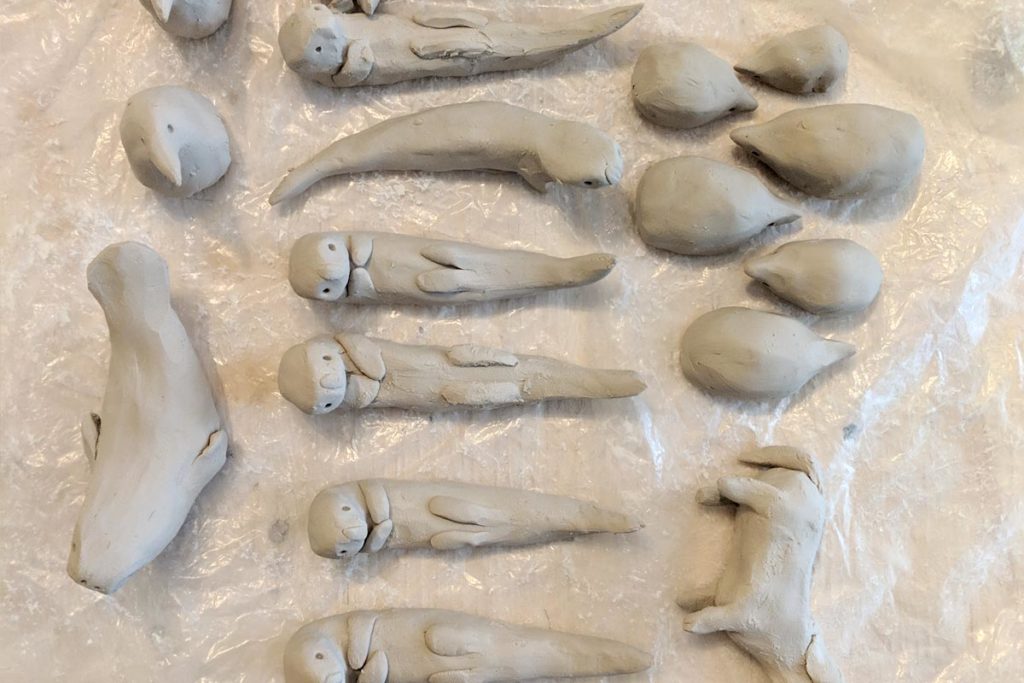
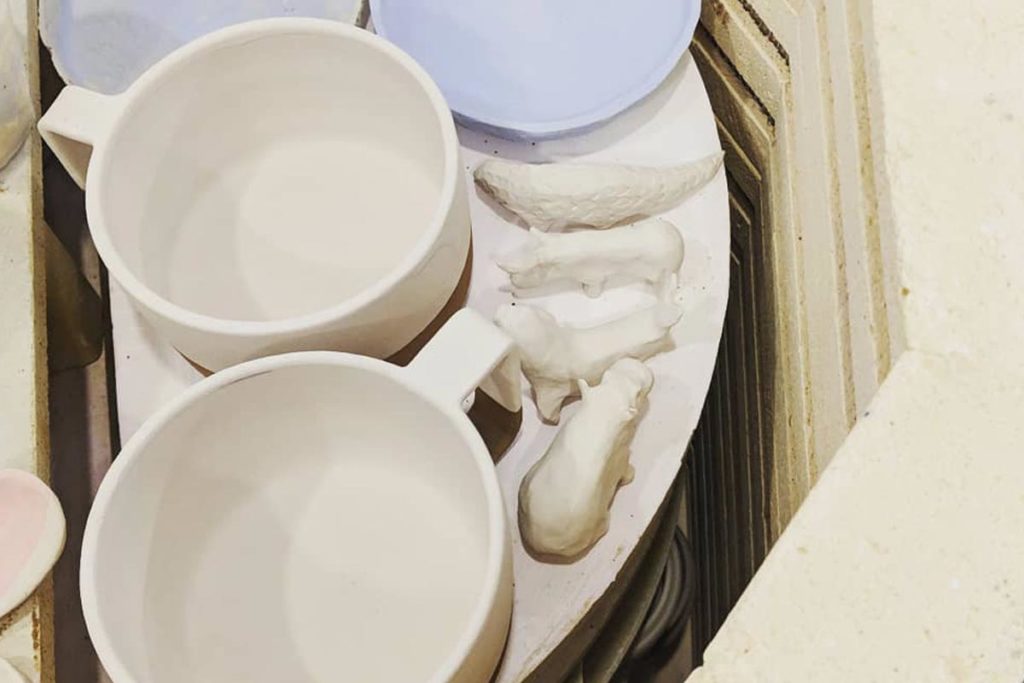
Once the wet clay is modeled, it’s going to dry. But not too fast, or else it will tear, break, lose shape or parts. Once I’m happy with the modeling, I cover the pieces with a plastic wrap. It can stay lose or not, depending on the temperature of the room, the dryness of the air and the next time I’m planning on working. If I want the pieces to stay moist and workable, I’ll prevent any drying by securing my plastic wrap around the pieces. If I need them to dry quickly, I’ll just let a lose plastic sheet over them.
All the pieces are on a plastic sheet that will be closed in order to keep them moist, as I don’t plan to come and work on them in the next few days.
2 – Leather stage
One of the stages is the leather stage. The pieces have dried but they’re still workable. They have a texture that ressembles leather. It’s easy to cut in them or use textures, poke the eyes in… One can also erase all the small imperfections with a sponge or stamp in a signature.
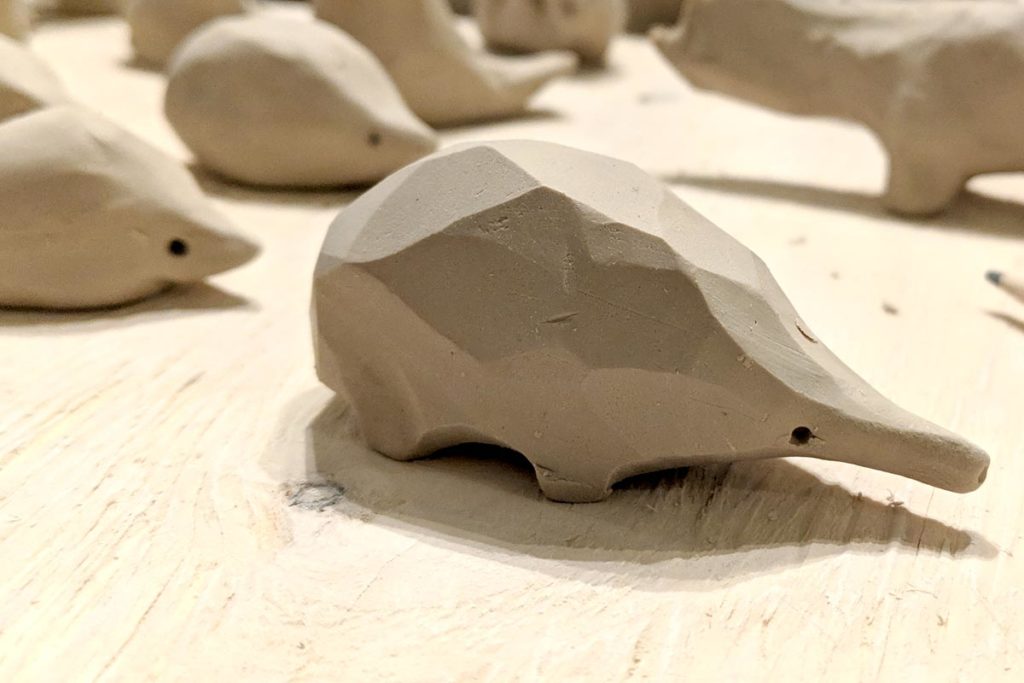
Leather stage, I can easily make facets or stamp the eyes in with a small pencil or special tool.
3 – Dry stage or Greenware
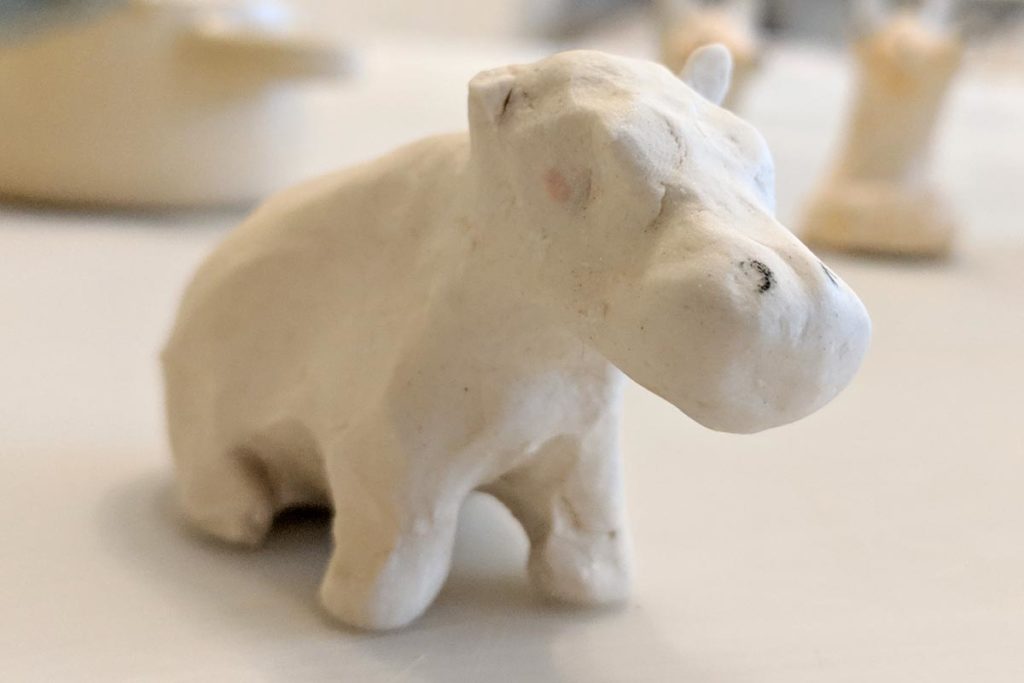
When a piece is dry, it is whiter and there’s nothing more to do than fire it. It is at its most fragile stage. I tend to break a lot of pieces at that point. It takes the smallest pinch and legs or ears will go off. At this stage, I often apply underglaze. This is not done on the larger pieces like plates or bowls to just avoid weakening them by remoistening parts too fast. But on my little figurines it works well. The underglaze is a sort of paint that’s applied to greenware or bisque clay, it will give the pieces their color – I work with white clay.
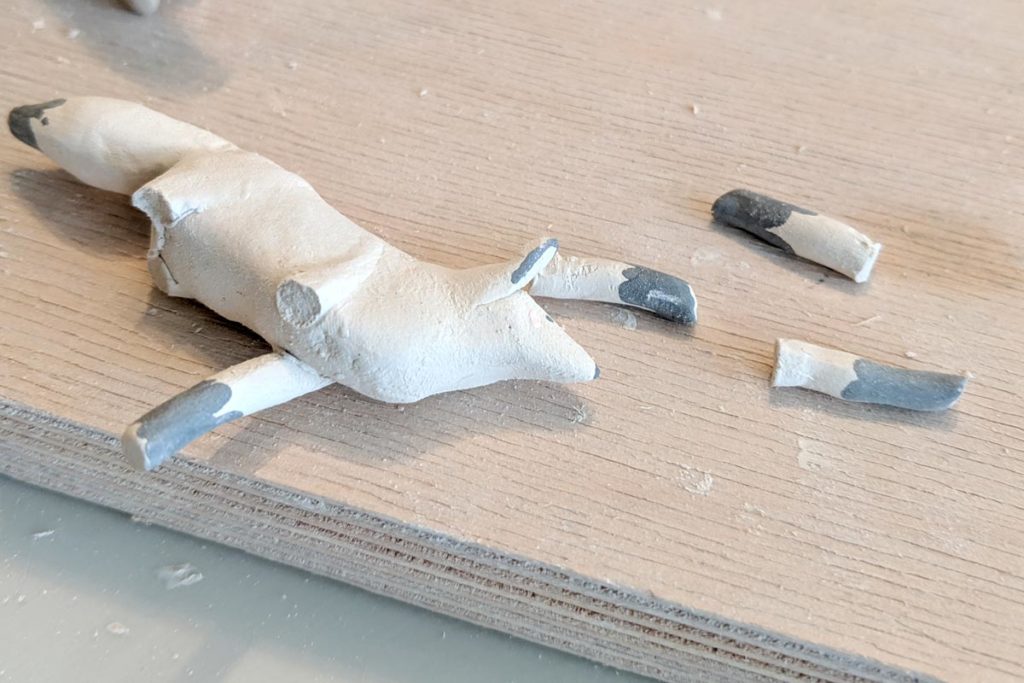
Paf.
Do not grow attached to your work, it will break eventually.
4 – The Bisque
Each pieces goes through a first firing at bisque temperature. This firing is a bit lower in temperature than the final one. It is important not to mix greenware and bisque, firing greenware at maturity temperatures can make a mess and break stuff.
Bisqued pieces in the kiln
The bisque firing of white clay reaches a mere 900°C. A firing lasts 10 to 12 hours, it is important to let the temperatures rise and drop evenly and slowly.
After the bisque firing, i can add underglaze and glaze. The underglaze is used like a paint, with brushes. Glazing occurs in a variety of forms, it will look like a kind of varnish but before the maturity firing, it’s a powder mixed with water. Usually, the pieces are dipped into the glazing solution. Bisque absorbs liquids really quickly so a swift dip usually does the trick. The water will be abssorbed by the bisque and the powder will sit nicely, waiting for the last firing. The parts that will be in contact with the kiln, bottom parts like feet, will be wiped clean. This will prevent the glazing to stick to the plate. It won’T just stick, it will fuse and ruin everything :D.
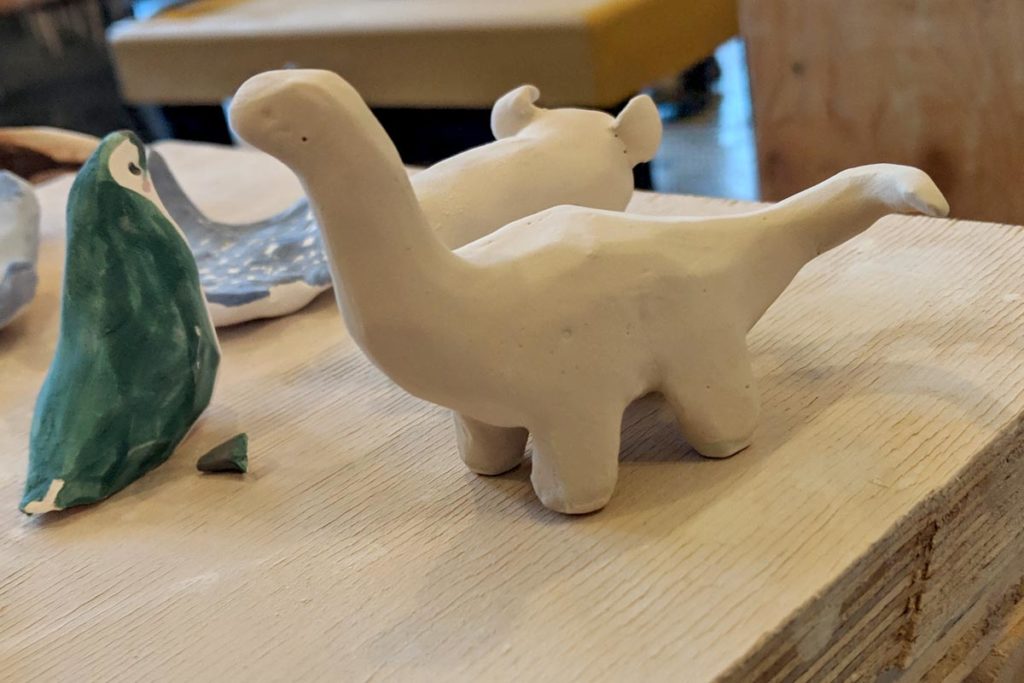
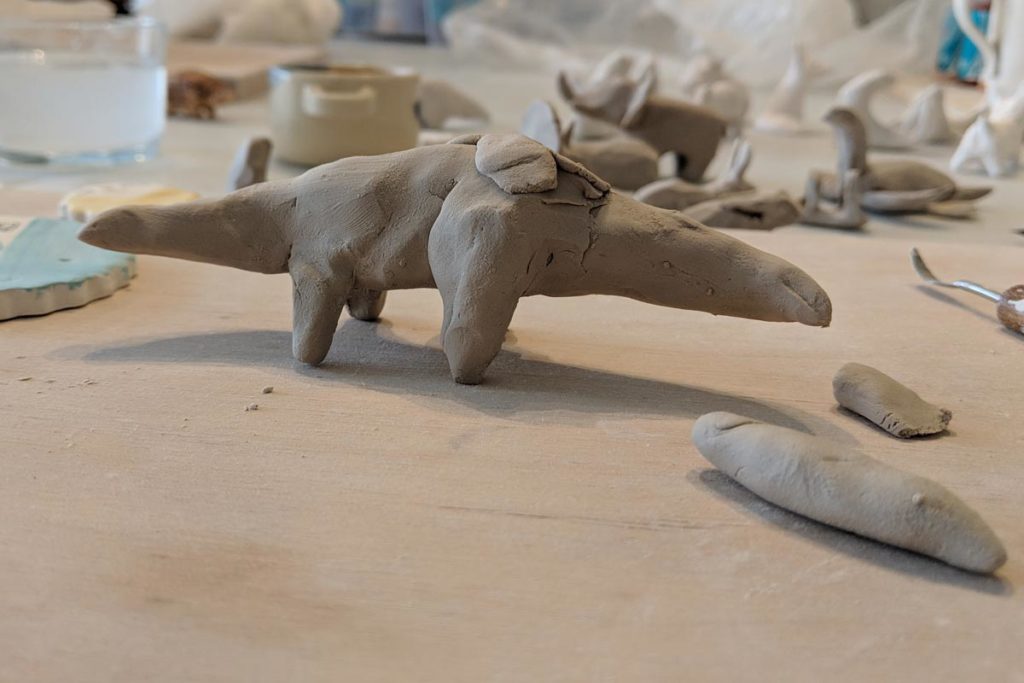
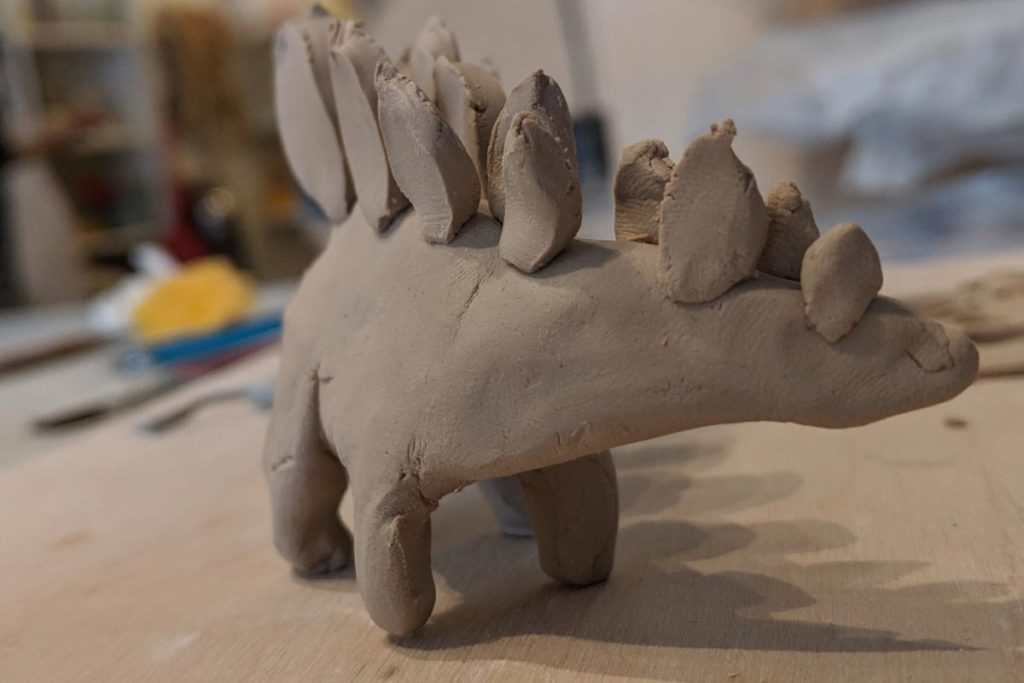
Ceramic Dinosaur after glazing and before the final firing
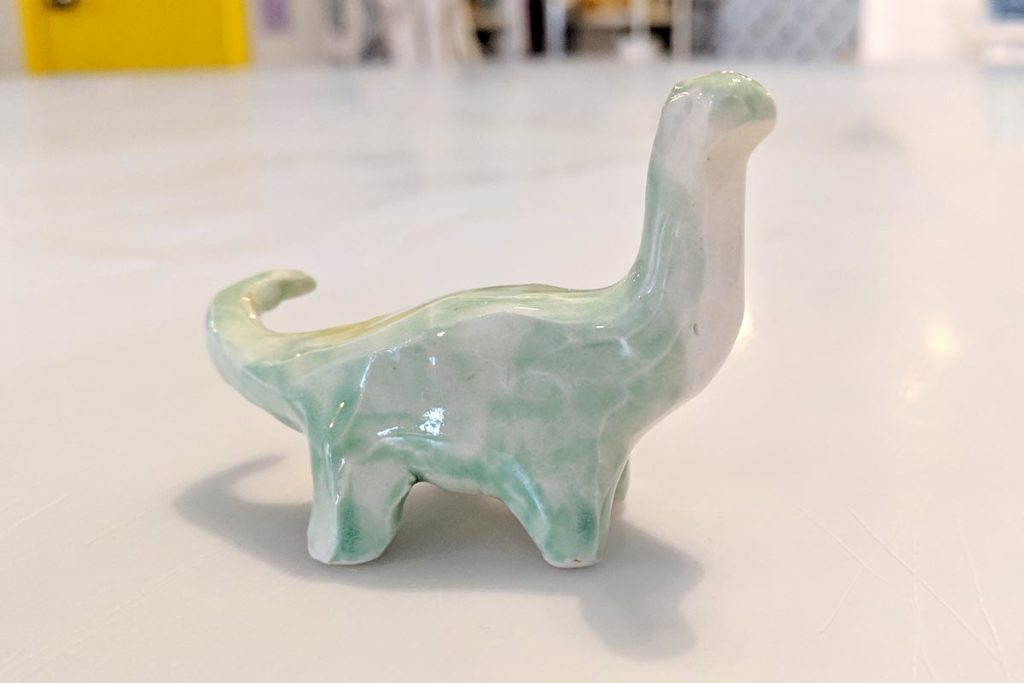
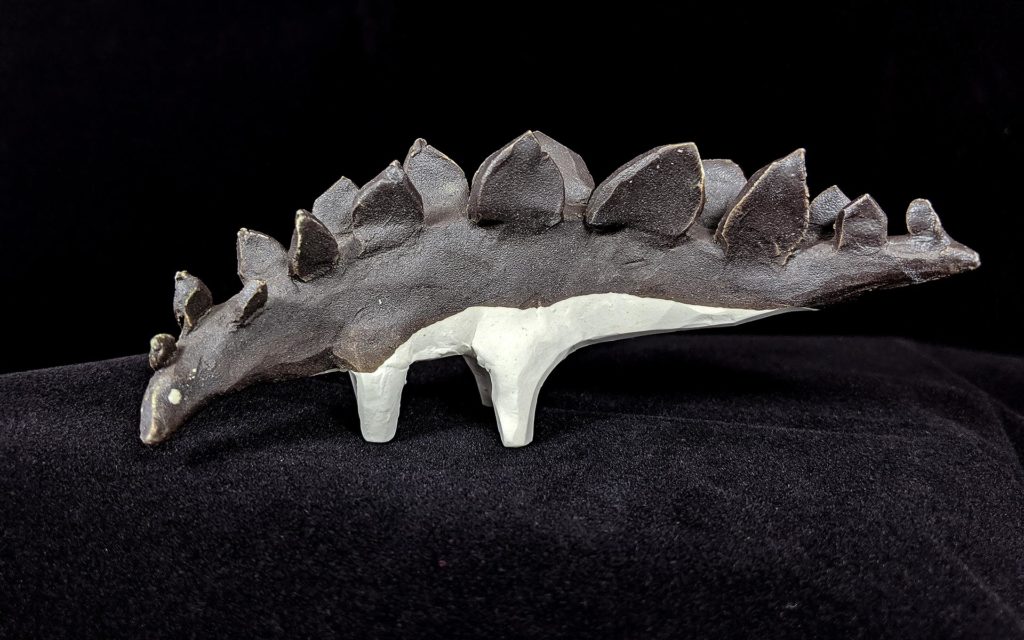
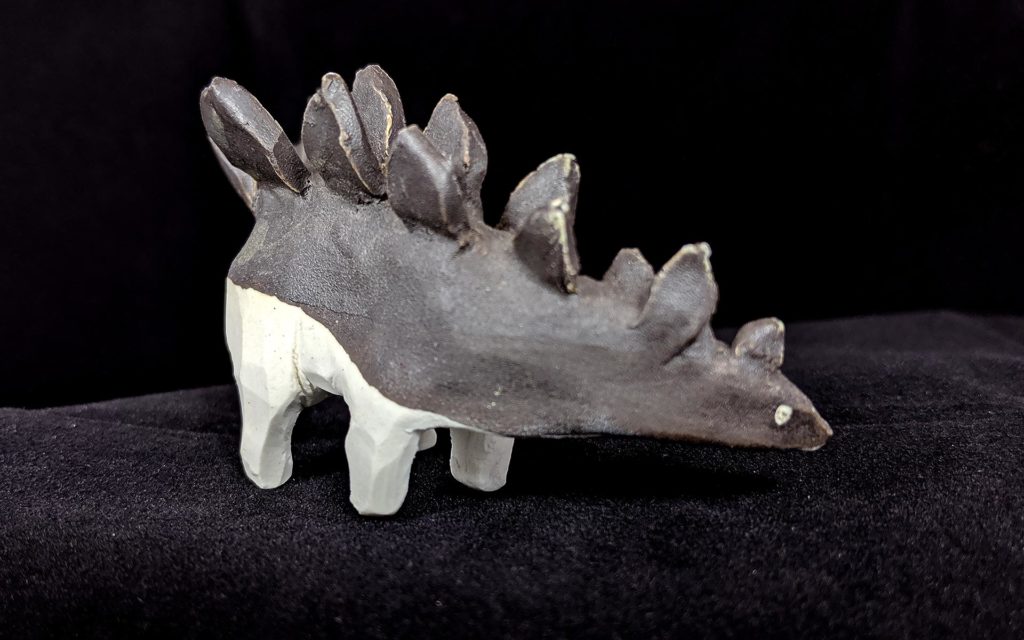
The same Ceramic Dinosaur after its maturity firing
5 – Maturity Firing
It’s usually the last step. Each ceramic piece goes through a 1200°C firing and after that, there’s nothing much to do. One can add metallic glazes like gold and go through a third low fire, but that’s it basically. If a piece looks bad, a reglzing and refiring can occur but it usually won’t look well.
I love Ceramics !
I really do ! At this point onward, and after a year, I have a few things that i would have liked to know before I started.
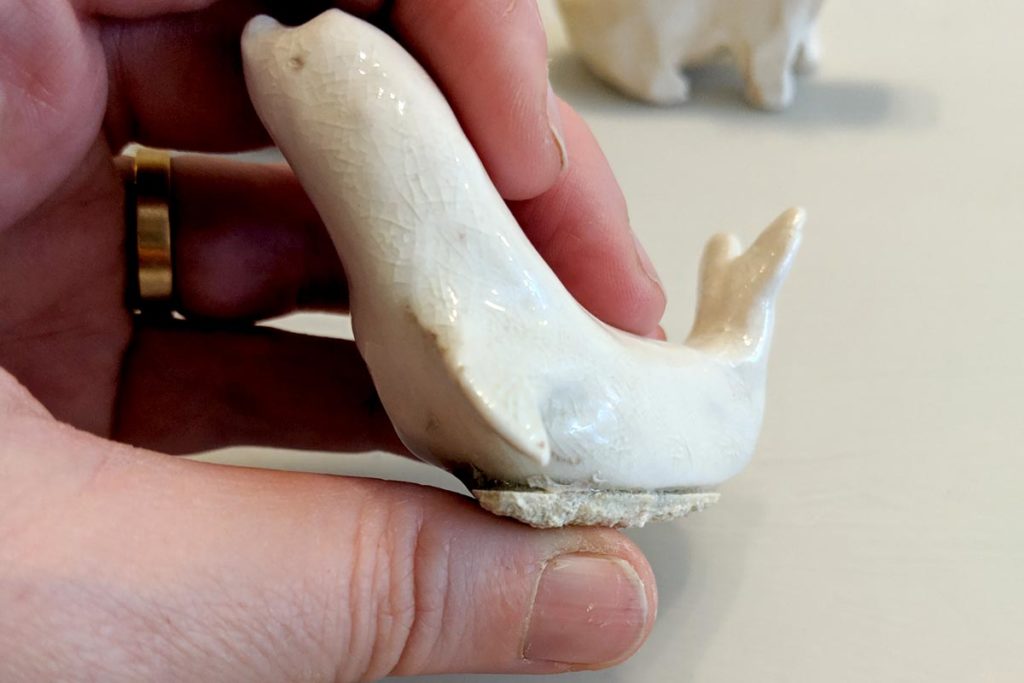
Frustration : a definition. This went through bisque firing with a broken ear. There was no cheap practical way to fix it.
Lower your expectations
It might seem dumb to say this but don’t get any expectations at all. Forget what you know about painting, drawing etc. It’s a whole new medium with a lot of technicalities, chemistry and random stuff happening.
Glazing accident : this piece fused with the firing plate, both were thrown away.
New medium = new style
I really wanted something that ressembled my watercolor and I wasted a lot of time and energy. Just go with the flow and somehow, the universe (or skill) will help.
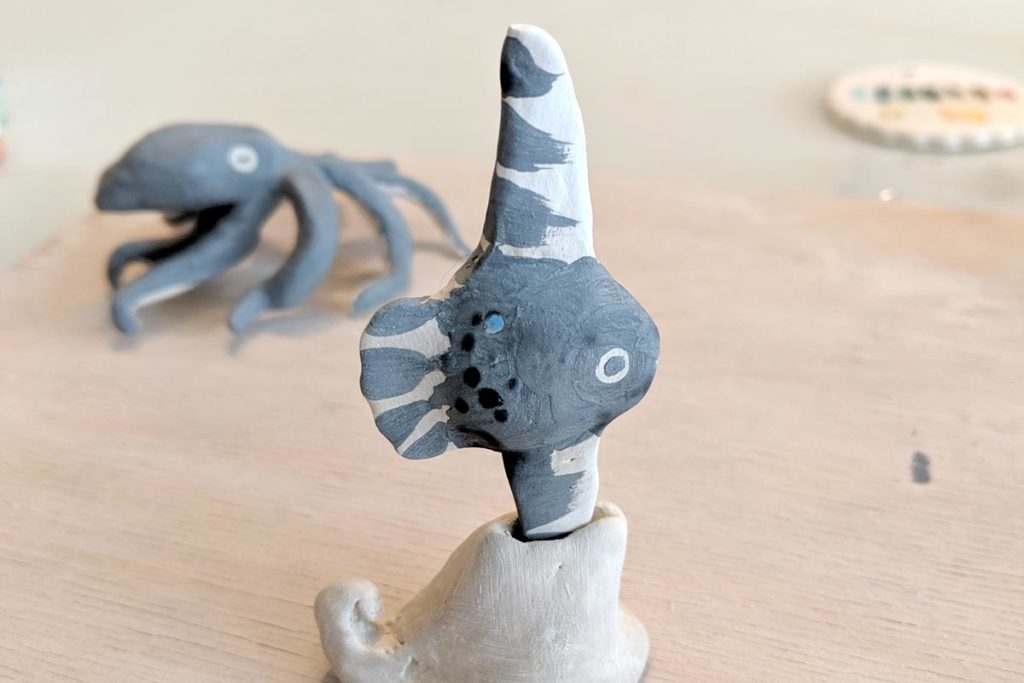
New work, new style
Be patient
And this is even more important in a shared space. I only spend a few hours a month in there, I can’t do it all. I have to remember myself to be patient and wait 1 to 3 weeks between the sculpting and the maturity firing. It’s a good thing though.
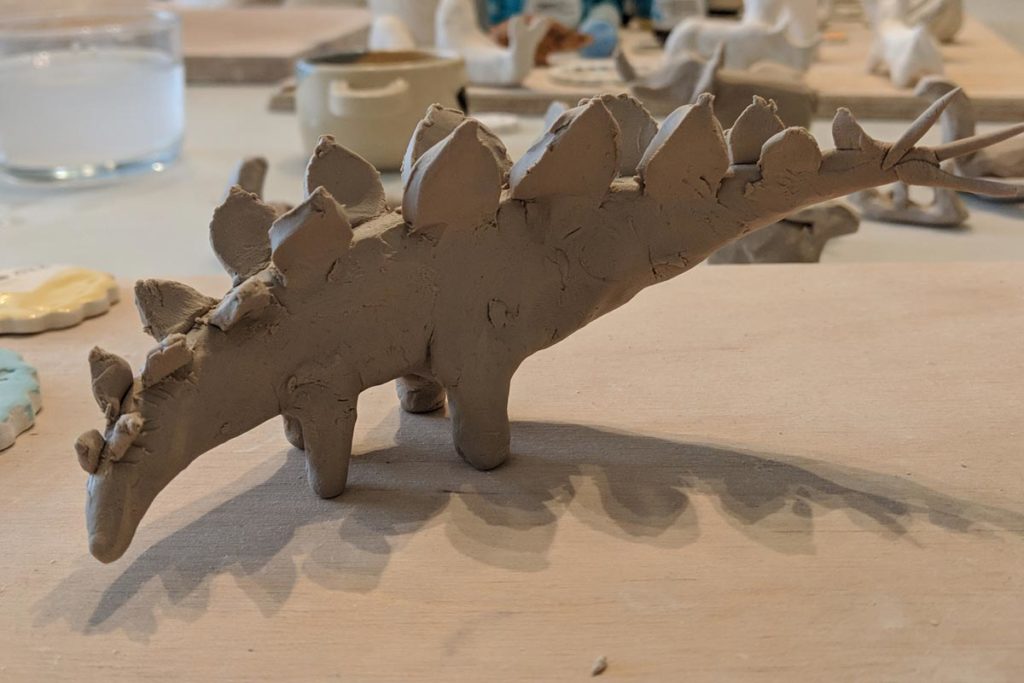
Ceramic Stegosaurus spent 3 months on the studio shelf
Keep a journal and learn from your mistakes
Every detail is worth writing down. Mixes, colors, firings, layers, glazes… There’s no cancelling something here, and from a session to the next, you will forget stuff you did. If you like how something comes out, it’s great to be able to follow the same exact steps.
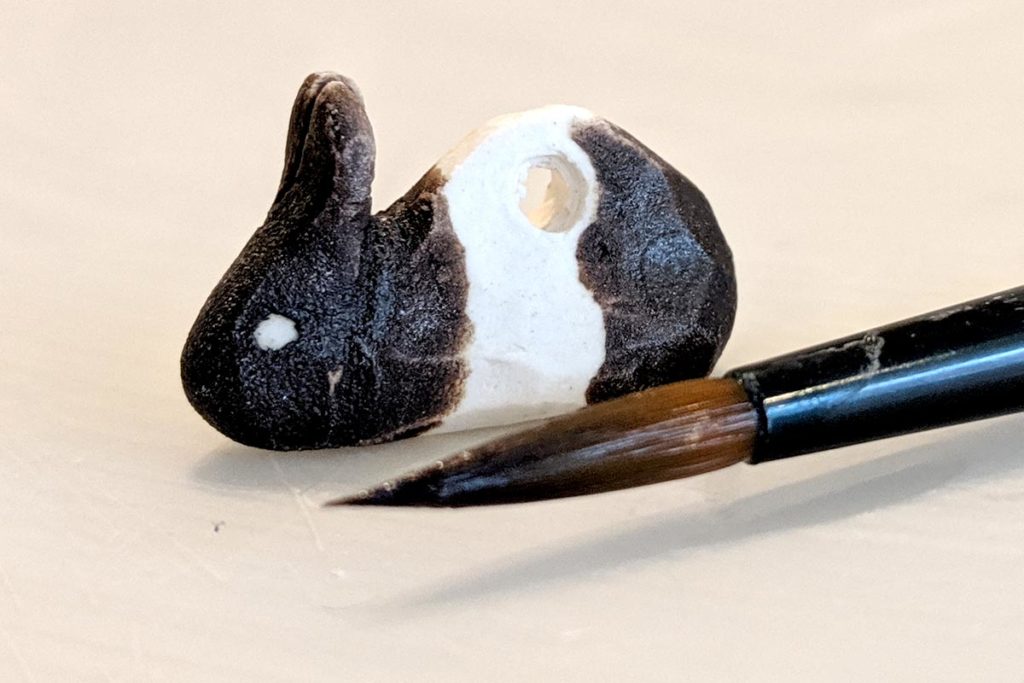
Tinies ceramic bunny as a conclusion
That’s it for today, next time I’ll show you the steps of a single ceramic figure. The Online Shop is now open ♥