Illustration Blog
How to scan and adjust your watercolors
Apr
In this article, I will explain how to scan and adjust a watercolor painting. You will be able to adjust your image to be clean and presentable in your online portfolio. I use Photoshop and especially the level tool to whiten the paper and add saturation and contrast.
The ideal Scanner for watercolors
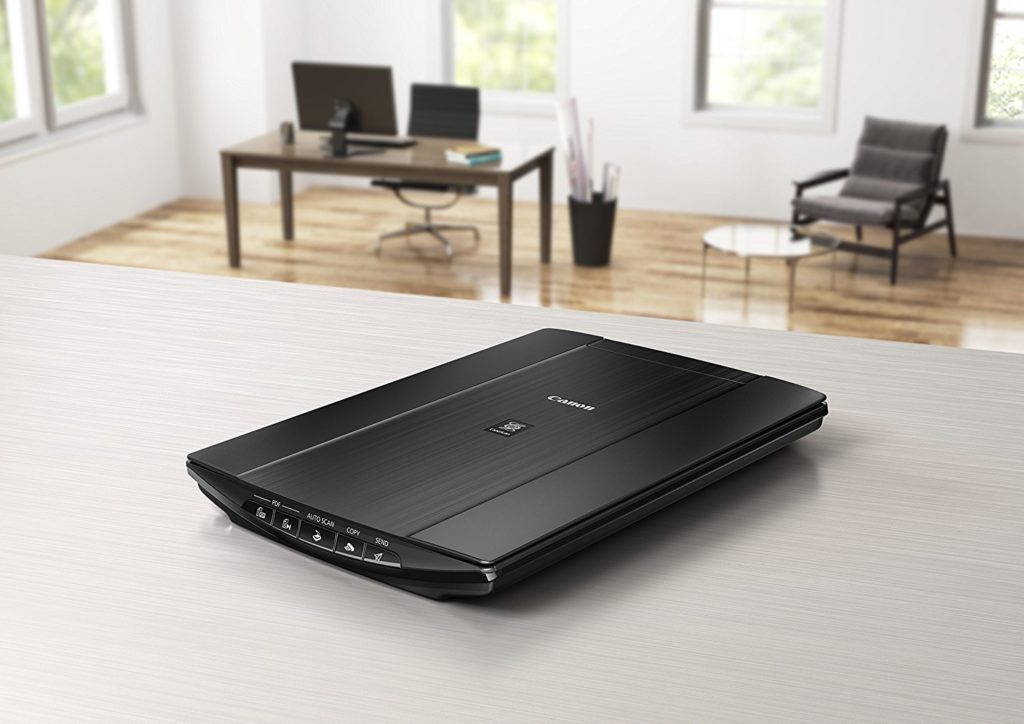
I opted for a rather qualitative scanner: The Canon Lide 200 scanner. It scans up to 600 dpi in color (what is DPI?). Once your scanner is installed, you have several solutions: go through the supplied proprietary software which is often non-professional (with quite awful settings most of the time) or use a professionnal software like abobe photoshop CC.
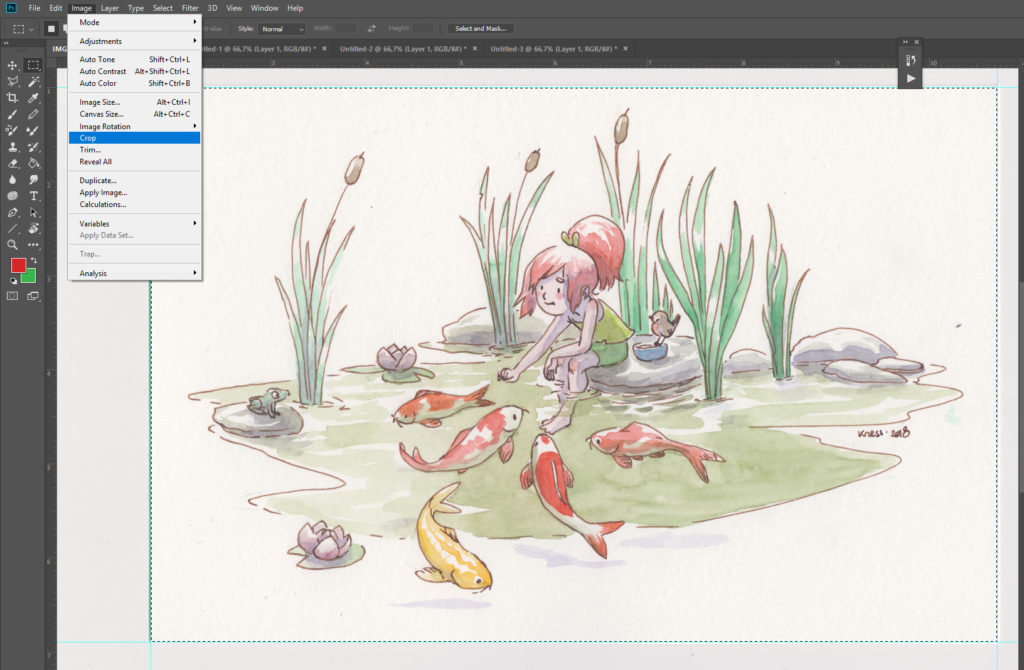
Scan a watercolor with Photoshop
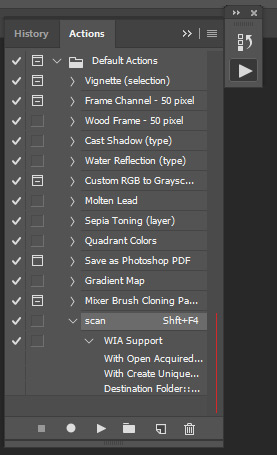
Until the last update of Photoshop CC It was impossible to scan (lol), I had to go back through CS 6. Note: If you have an Adobe CC subscription you have access to all older versions of Adobe software. It’s now solved, so I have 2 options: Go through the File/import menu or create an action with a keyboard shortcut. It’s more convenient when you need to scan 30 pages for example.
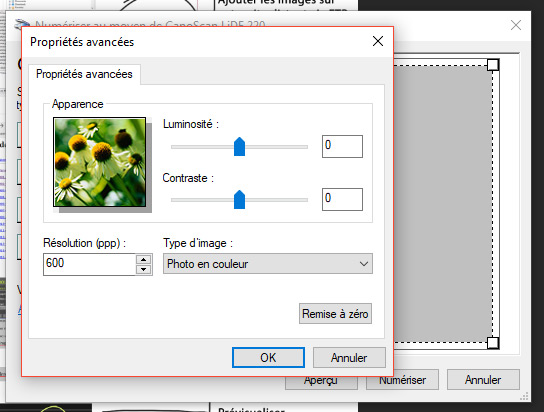
Once the scanner is selected, I will go into the custom settings to increase the resolution to 600 dpi. With my configuration the settings are saved. Then I’ll just have to select custom settings for scanning at 600 dpi.Scanner choice-Easy I only have one:
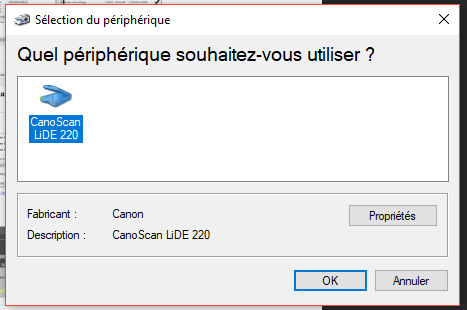
Choose Custom settings:
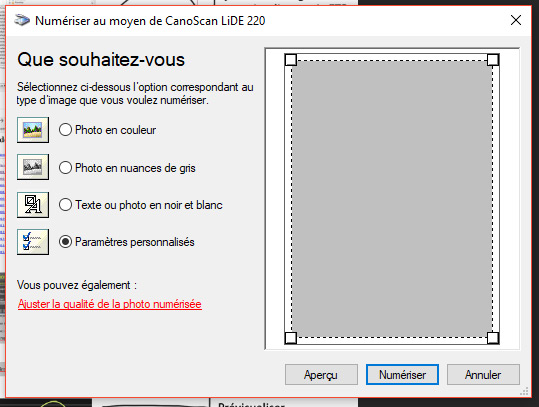
Choose 600 dpi
The technique that suits me best then is not to go through the preview but to scan the whole page. I will do the rotations and cropping afterwards. In fact, the drawing is rarely placed perfectly on the scanner in any way so i might as well skip the preview and save time.Scan!
Watercolor Drawing settings in Photoshop
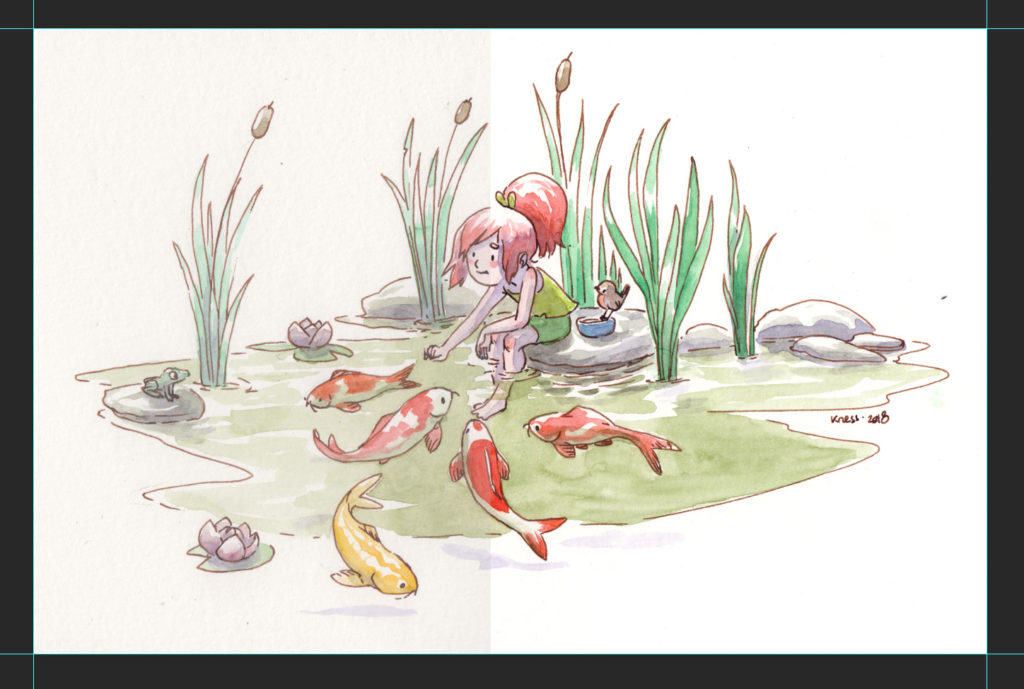
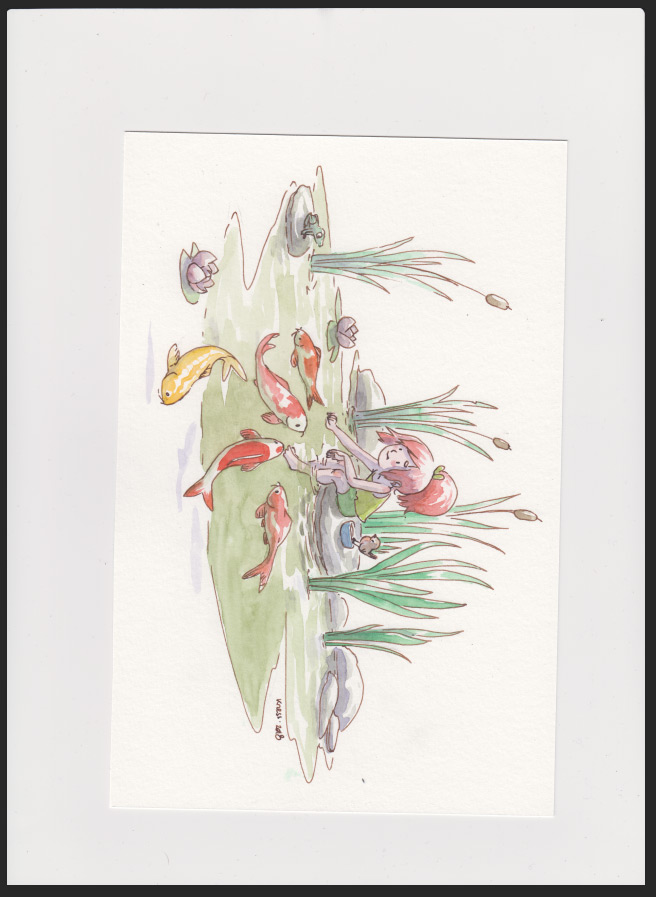
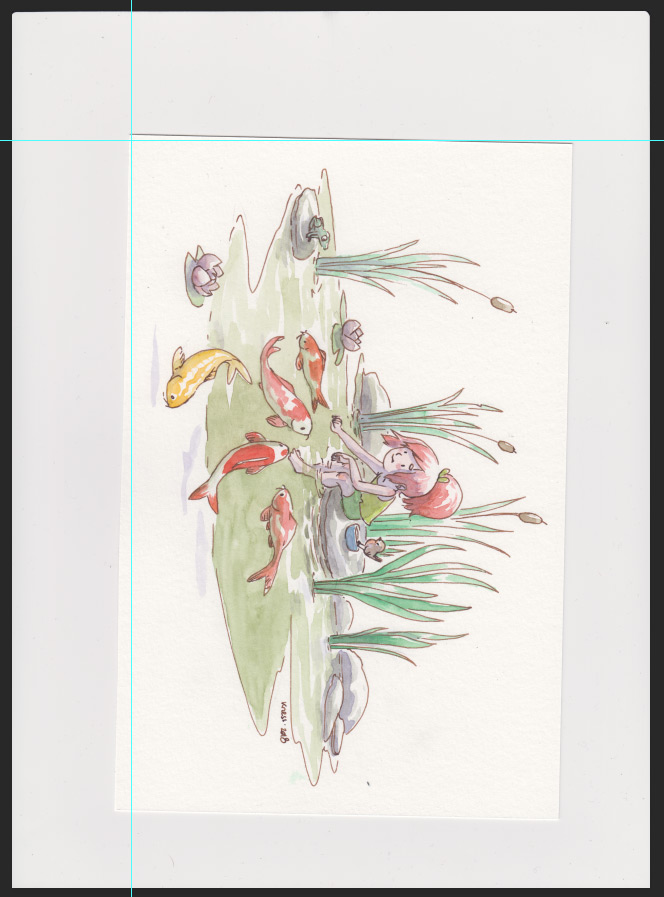
My watercolor is scanned but now it needs to be straightened and cleaned. Gross scanned drawing:
Depending on your needs you can vary the steps, here is the most optimal way for me to scan and adjust a watercolor with Photoshop. 1-First, I place guides to be able to straighten my watercolor nicely. To make the rules appear and pull the guides, press CTRL + R and draw a guide from from the top or left
ruler.
2- I change my “background” layer to normal layer (double click on the layer) to allow rotation. Then I rename it eventually. I can duplicate it to keep the original scan of my watercolor. 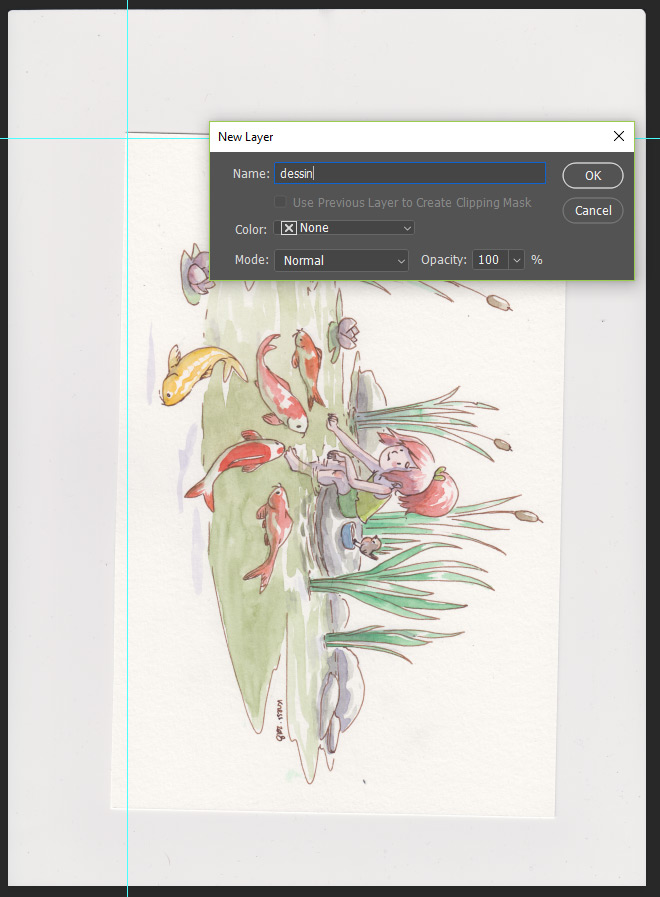 3-I do a CTRL + T to rotate and place the edges of the drawing against the guides.
 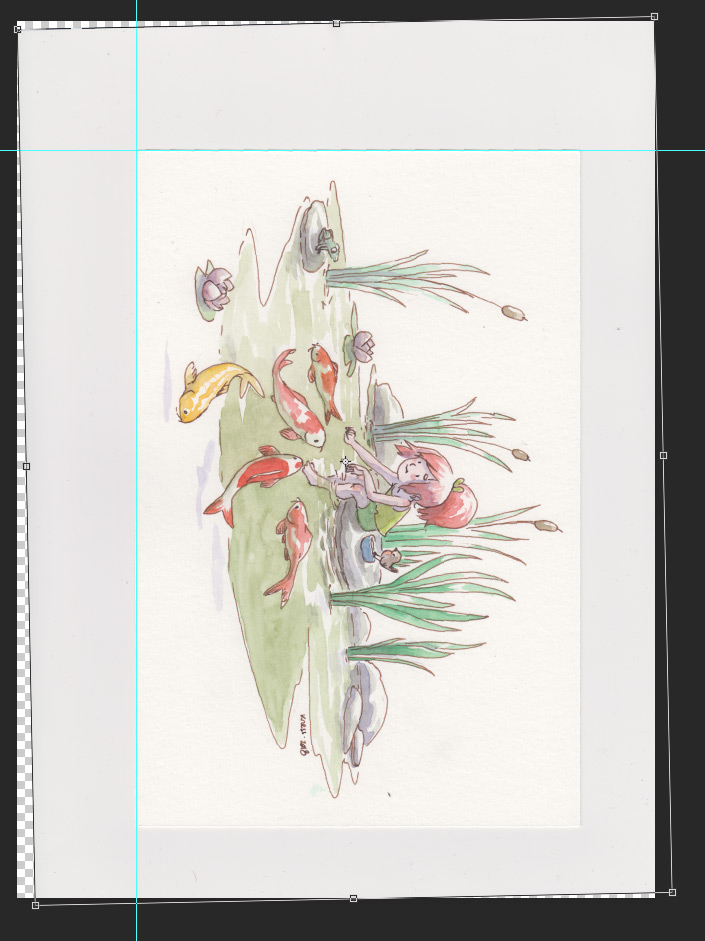 4-I rotate at 90 ° CCW
 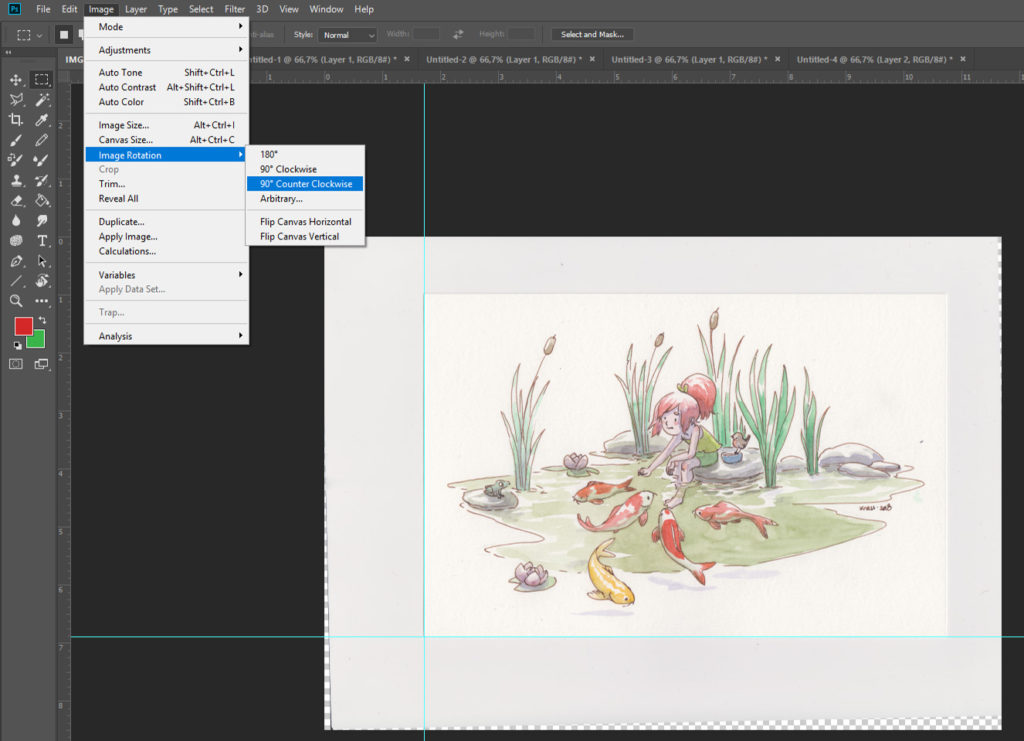 5-Then I place the 2 remaining guides and select + crop the whole thing.
6-Now let’s go to leveling and cleaning. I’m going to use the levels with CTRL + L. In the interface, I will bring the two handles of the ends slightly towards the center. This will erase the middle greyish shades and reinforce the contrast of the watercolour.
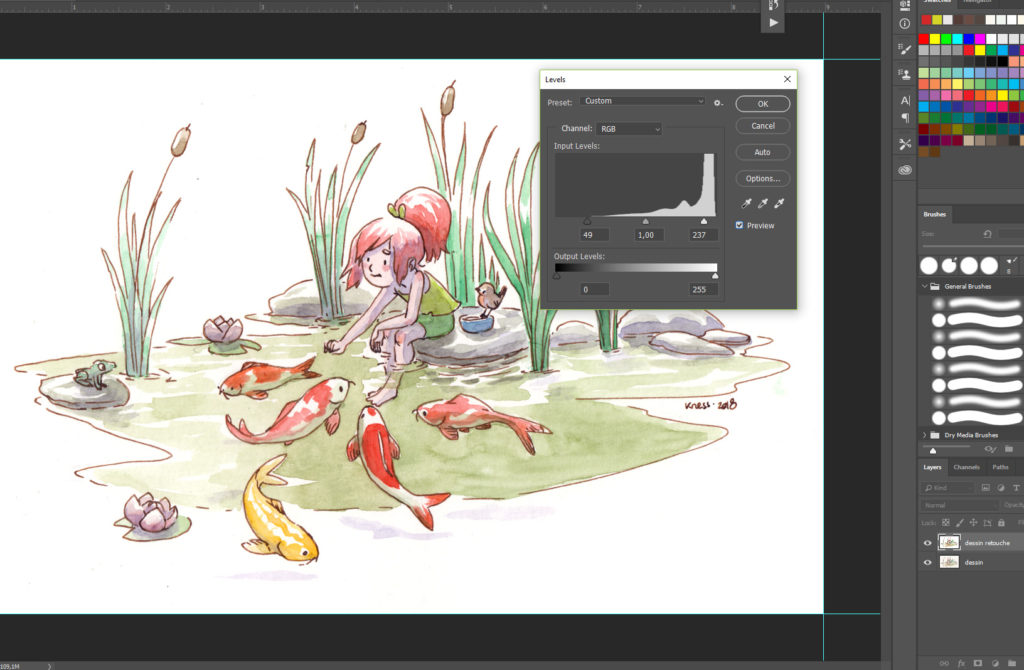
Play with this tool, it has many different settings, to you to find your personal sauce:) 7-Finally, all I have to do is erase the little dirt from the watercolor scan. Traces of gum or paint errors are removed with a white brush.
Tip: Clean your scanner glass regularly will prevent you from cleaning your drawings systematically:)
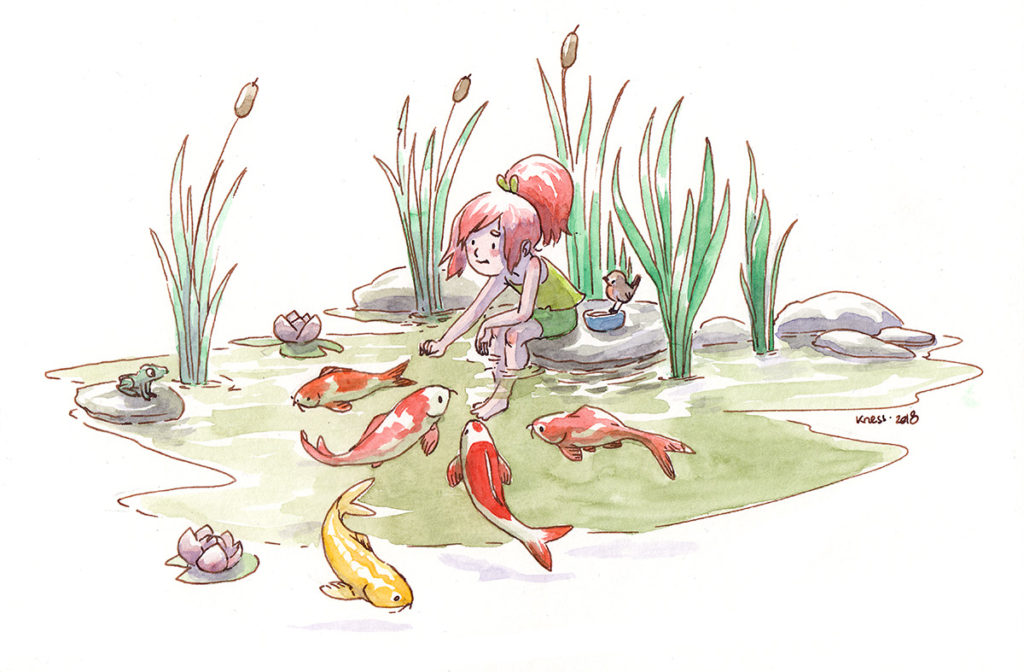
To finish, I save the PSD version in a folder and then I pass my drawing in 1200 pixels wide that I record for the Web (CTRL ALT SHIFT S). I name my watercolor explicitly by integrating my name + Date + title for example.
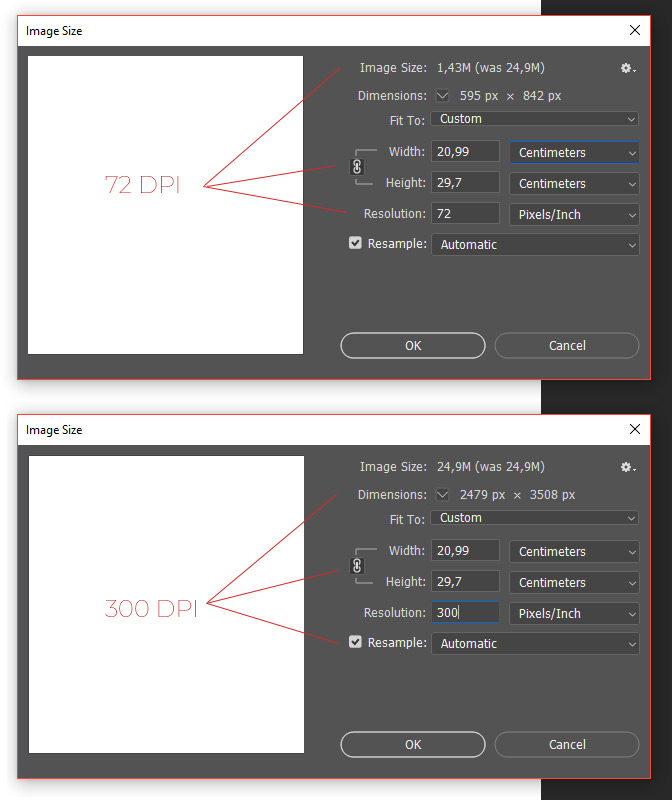
What’s DPI?
DPI or Dot per Inch is a RATIO. It is not a unit of measure but the ratio between two data: the number of points per square inch. One could have used the number of pixels per square centimeters but the uses in printing are so. This resolution is usually 72 dpi for the web and 300 dpi for printing. Indeed on paper one needs more information than on a screen.
Understanding DPI with an example:
A4 sheet measures 21 x 29.7 cm-your screen, regardless of size, has pixel resolution and not cm. So you have to translate the centimeters into pixels with the DPI.With a resolution of 300 dpi, it will be 2480 x 3508 pixels. With a resolution of 72 dpi, we have 595 x 872 pixels.