Illustration Blog
How to scan and adjust your Watercolors
Apr
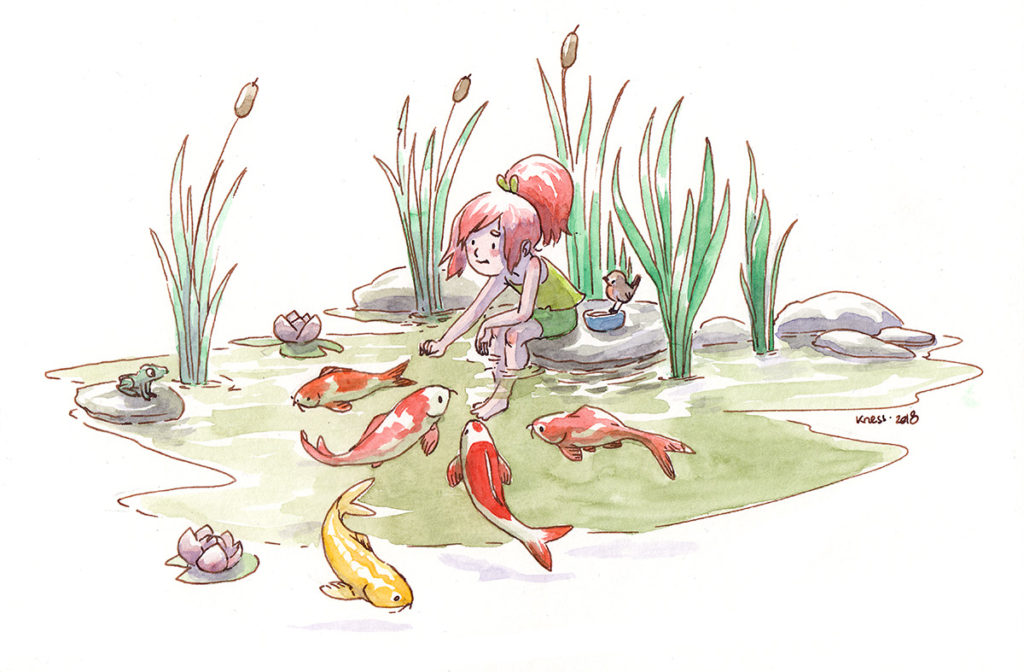
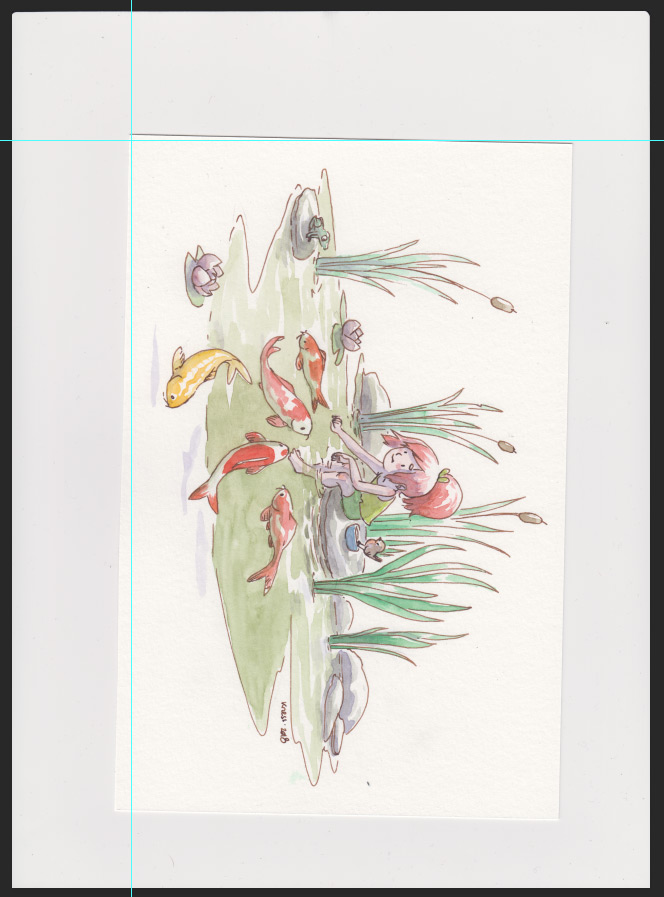
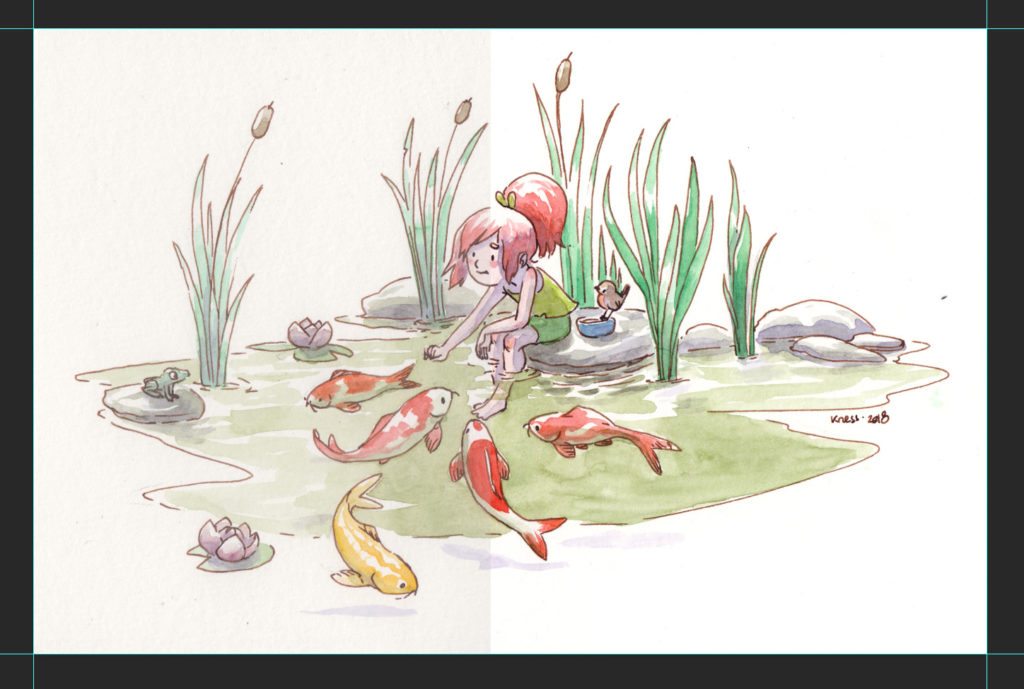
Here’s a little how to scan and adjust your watercolors. If you noticed your paper seems grey, or your colors look faded, maybe it’s time for a little CTRL+L in Photoshop ! Let’s see how I digitize my own works for a clean and fresh look, and more importantly to get them to print quality and sell them on Inprnt or Society6. I also keep them digitized when I sell the original paintings online.
1 – Digitize your Painting
You can use any scanner, I use a Canon Lide, which is both of good quality and not super expensive.
Open Photoshop and chose Import / WIA Support
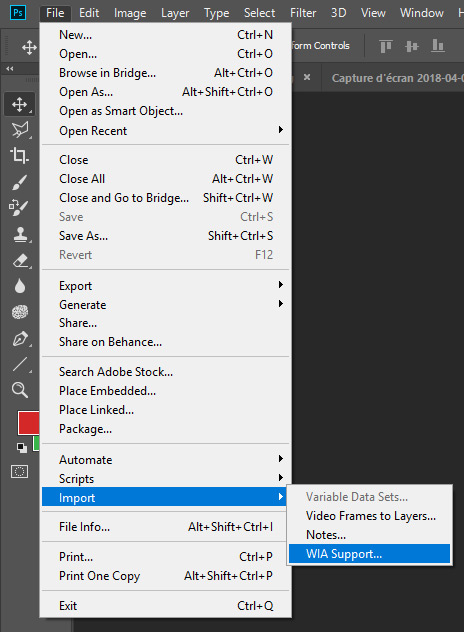
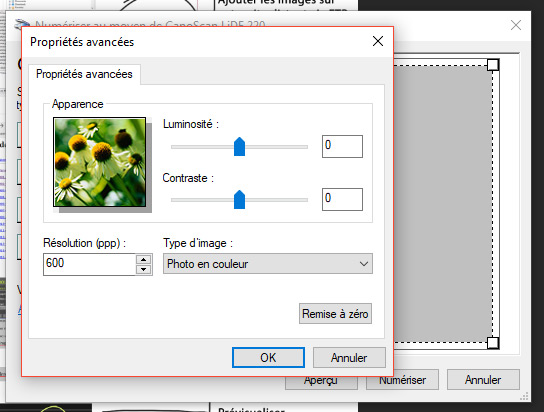
Your scanner will show up. The Canon Lide will digitize pictures up to A4 and 1200 dpi. For our first test, let’s scan at 600 dpi, for that, you will need to use custom presets / advanced settings.
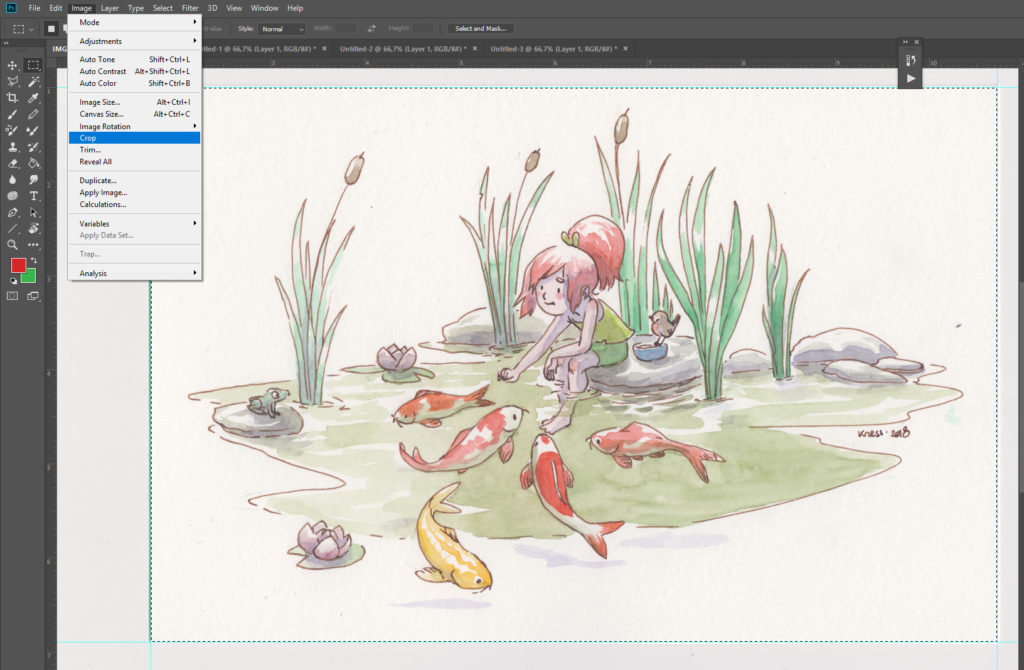
2 – Straighten and crop your picture
If your painting is a bit askew, you can straighten it in a few seconds. There are two ways to do it. The first one is to use guides that you’ll pull from the rulers. Then you will double click on your layer to be able to move it. And you can than use CTRL + T and rotate your painting until your borders are straight.
The other method will be useful if you have many pictures to scann and adjust. You can use the Image Rotation / Arbitrary. It works with the ruler tool (i) – press i and draw a line following your pictures border. Then use Rotation / arbitrary and press enter, it will rotate it in order to make the ruler horizontal again.
Crop your watercolor painting.
3 – Levels
Use CTRL + L to adjust your levels, contrast and saturation. It’s better to do this with a calibrated screen or at least in the daylight, without any screen light filters. Once satisfied, save your file with an intelligible name so you can find it later.
4 – Resize and Save for Web
When your .psd is saved, you can use it for the printer or post it online. For social media, resize your picture to 1900 pixels wide and then save it for the Web ! CTRL+ALT+SHIFT + S is your best friend if you’d like good quality light files. Use a 10-12 quality Jpg. Do not use png for digitized paintings, they will be much heavier than needed.